
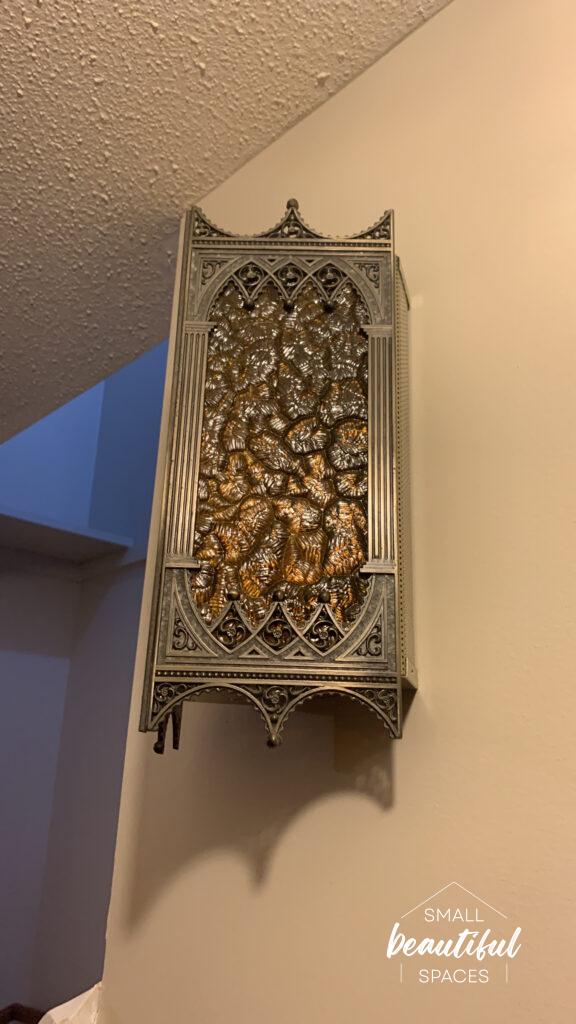
Doorbells are a functional necessity, but sometimes the aesthetic of an older doorbell chime can clash with modern interior design. If you have an old 1970s light-up doorbell chime that doesn’t fit your home’s style, fear not! In this DIY guide, I’ll show you how to update and conceal the unsightly wires by using a wooden box lid that seamlessly integrates with your décor.
Benefits of Concealing Doorbell Wires:
- Enhanced Aesthetics: By hiding the wires, you can achieve a cleaner and more modern look for your entryway. A wooden box offers a warm and inviting touch while keeping the wires out of sight.
- Seamless Integration: The wooden box can be customized to match your home’s interior design, whether it’s rustic, contemporary, or minimalistic. You’ll create a cohesive and visually appealing entryway that leaves a lasting impression on guests. Plus it is easy to paint to match whatever look you are going for.
- Easy Installation: This DIY project requires minimal tools and materials, making it accessible to beginners. With a little time and effort, you can complete this upgrade within an hour!
Step-by-Step Guide:
Step 1: Gather the Materials
Before you begin, make sure you have the following materials:
- Wooden box or lid
- Measuring tape
- Hammer
- Wire stripper
- Wire connectors
- Electrical tape
- Paint or wood stain (optional)
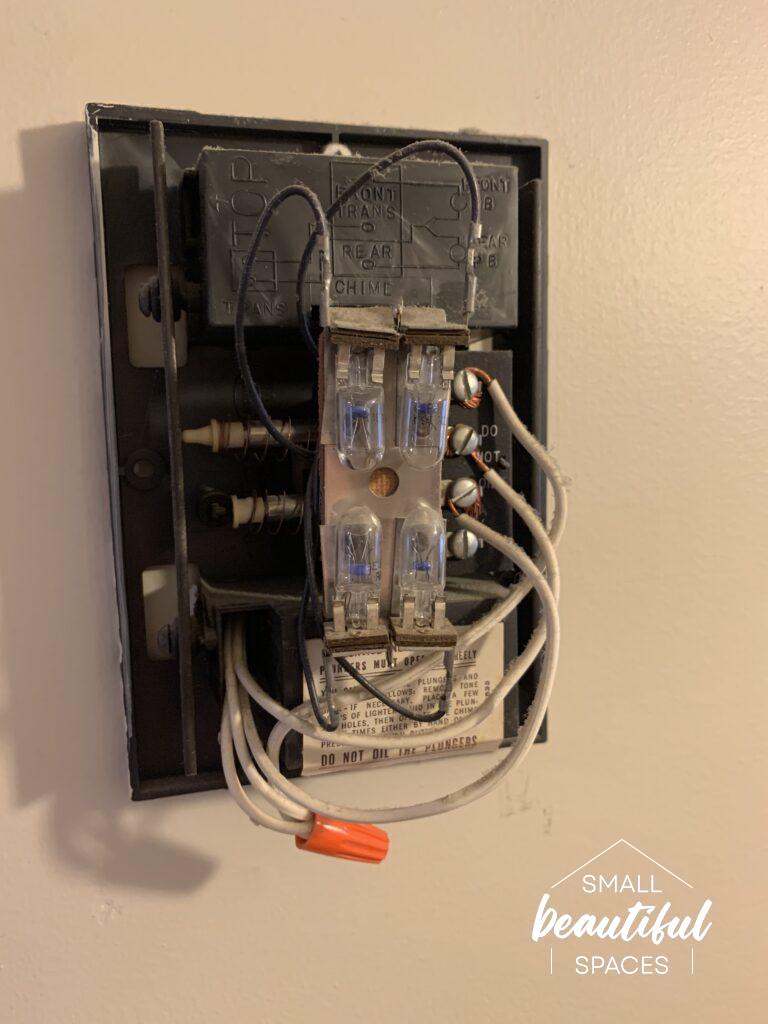
Step 2: Remove old Doorbell
Switch off the breaker that powers the wires first, then go ahead and disconnect the wires from the doorbell.
Prepare the wires to be covered by the box by covering them in electrical tape and sealing with marettes.
Step 3: Measure
Measure the dimensions of your doorbell wire area to determine the appropriate size for the wooden box. Ensure the box is deep enough to house the wires comfortably.
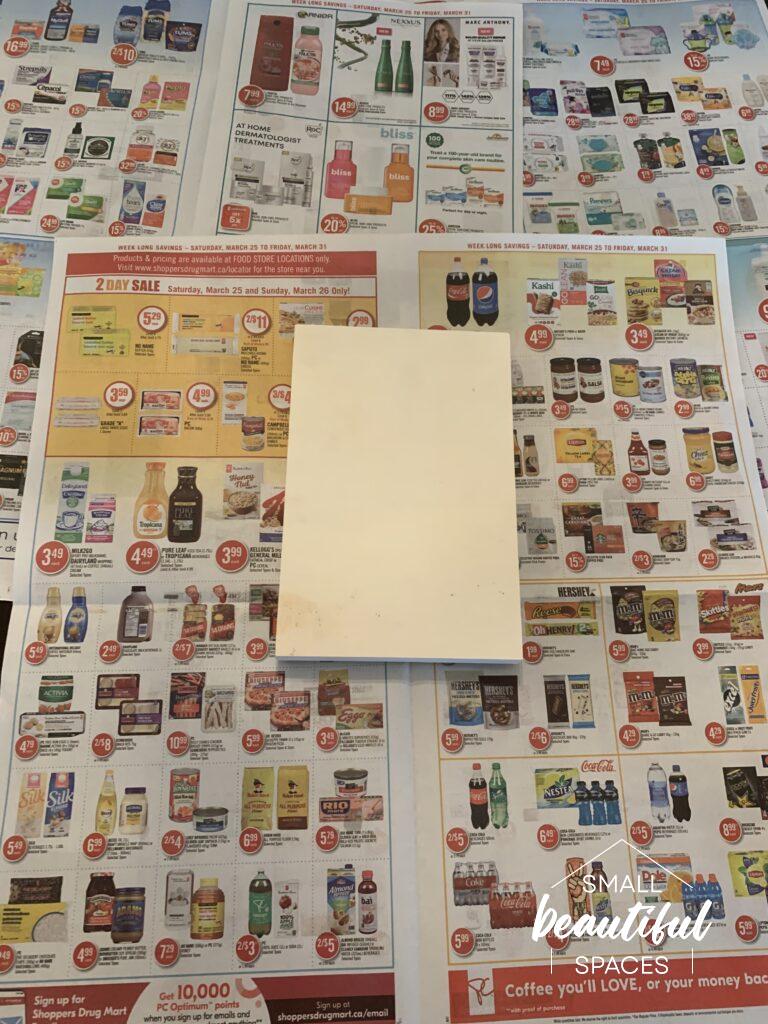
Step 4: Choose and prepare the box
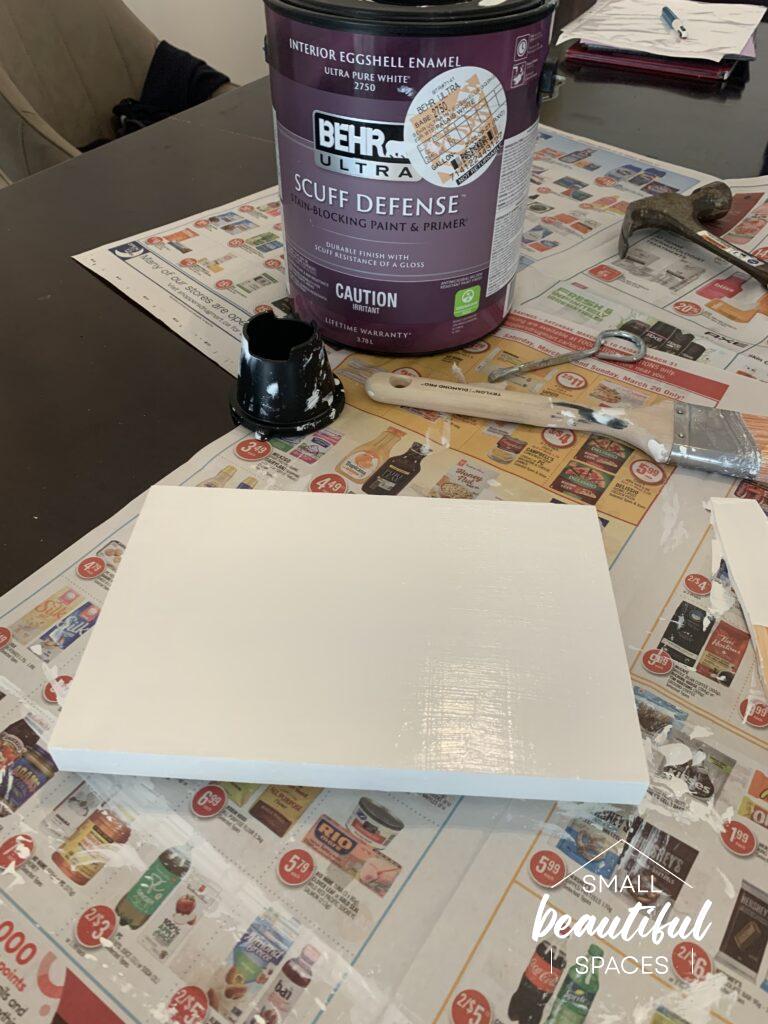
After measuring, shop around for a box that fits your area. I found mine at Dollarama and I ended up using the top of the box as a cover because I wanted it to be as close to the wall as possible. I decided I didn’t want my box to stand out at all but rather to blend into the wall as much as possible. So I went ahead and primed and painted the box lid Palais White by Behr which is the same colour as my wall.
Step 5: Mount the Box
Using a small nail and hammer, secure the wooden box to the wall by hanging it on the nail ensuring it is centered. Take care not to damage any wires during the installation process.
Step 6: Restore Power and Test
Switch the power supply back on and test your doorbell to ensure it is functioning correctly. Conclusion:
With a few simple steps, you can transform your outdated 1970s light-up doorbell chime into a sleek, modern focal point that blends harmoniously with your home’s interior. By concealing the wires with a customized wooden box, you achieve both functionality and aesthetics, elevating the overall appearance of your entryway. Follow this DIY guide to enjoy a more visually appealing and cohesive doorbell experience.
Remember to always prioritize safety when working with electrical components. If you’re uncertain, consult a professional electrician. Now, get ready to impress your guests with a stylish and modern doorbell chime that complements your home’s unique personality.


